Komodo photography is a gift: steep islands, three bays in one frame, pink sand, wild dragons, clear water and some of the darkest night skies you will ever see. But the best pictures here depend on timing as much as on gear. This guide shows where to stand, when the light is best, how to photograph the dragons safely, what to know about drones and how to protect your camera from salt and sand on a liveaboard.
In short
- The best light is at sunrise and in the last hour before sunset; midday light is best for turquoise water and reefs.
- The classic shots: Padar at sunrise, Pink Beach, the dragons, Kalong Island at dusk and the stars at anchor.
- For the dragons, use a zoom or telephoto lens and stay several metres away, behind the ranger.
- On most sharing trips on this site, photo and drone documentation is included.
The light in Komodo: when to shoot
Komodo sits close to the equator, so the sun rises and sets quickly, at around six in the morning and six in the evening, and the soft light lasts only a short time. The first hour after sunrise and the last hour before sunset give warm, low light that brings out the shape of the hills and the texture of the dry grass. Plan your best photos for these two windows.
Midday is not wasted time. When the sun is high, it shines straight into the shallow water, and the reefs and sandbars glow turquoise. That is the best moment for photos from above, from a hill or a drone, and for snorkelling pictures near the surface. A polarising filter cuts the glare on the water and deepens the blue of the sky.
The season changes the look of the islands. In the dry season, from April to November, the skies are clear and the hills turn golden brown from about September. From December to March, the wet season brings green hills and dramatic clouds, with more rain and fewer boats.
Padar at sunrise
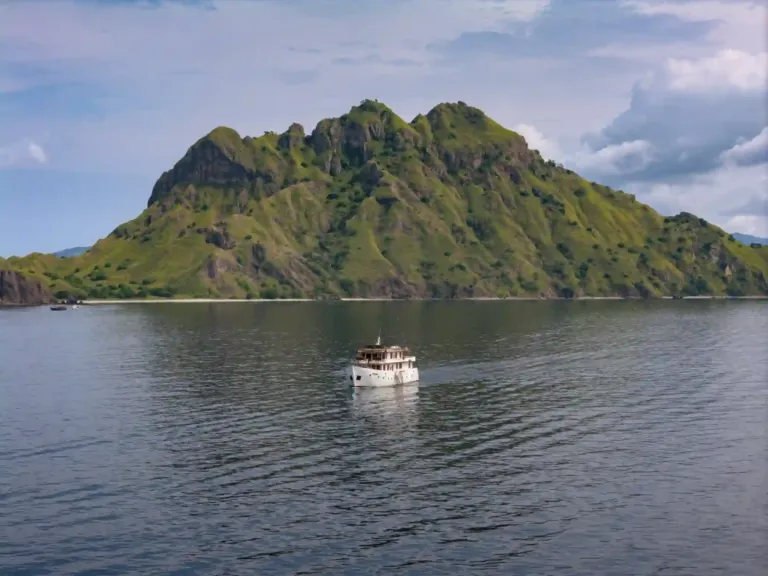
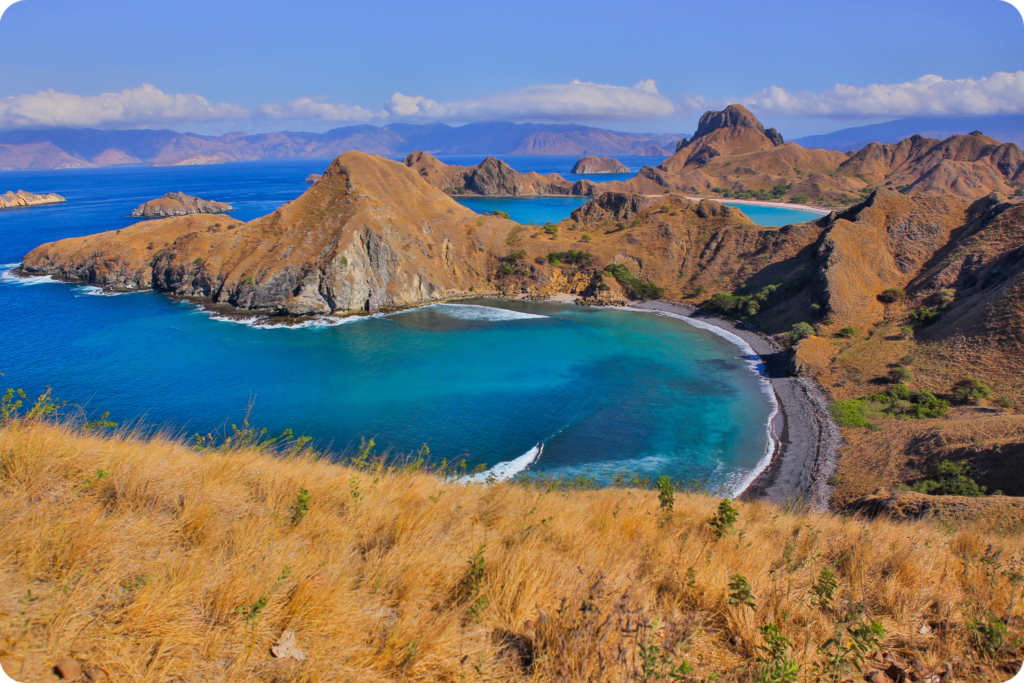
The view from the top of Padar is the most famous photo in Komodo: three curving bays, each with sand of a different colour, between steep ridges. Most liveaboards anchor nearby and wake you at around 4:30 for the climb, so you reach the viewpoints in time for the first light at about six. The climb takes around 30 to 45 minutes on stone steps and a dirt path.
A wide-angle lens, or the wide camera on your phone, fits the three bays into one frame. Keep climbing past the first viewpoint: the higher points give a cleaner view with fewer people in it. Shoot both before and after the sun clears the hills, because the colours change minute by minute. Since 1 April 2026, the park has limited visits to 1,000 people a day across Padar, Rinca, Komodo and 23 dive sites, and our guide to Padar Island explains how the quota works.
Composition on Padar
Use the path or the ridge as a line that leads the eye towards the bays, and place the horizon high in the frame so the bays fill most of the picture. On a phone, try the panorama mode for the full sweep of the island, and a vertical shot for social media. A friend standing on the ridge, small against the view, shows the scale of the landscape better than any wide-angle lens.
Komodo dragons: safe distance, long lens
Photographing the dragons is a highlight of every trip, but it comes with rules. You walk with a park ranger on Komodo or Rinca, stay with the group and behind the ranger, keep several metres away even from a dragon that looks asleep, and never feed or touch one. The ranger decides how close the group can go.
That is why a zoom lens is your best friend here. A focal length of 70 to 200 millimetres, or the zoom camera on your phone, lets you fill the frame from a safe distance. Get low, at the dragon’s eye level, if the ranger allows it, and focus on the eyes. A dragon flicking its yellow, forked tongue makes the best picture, so keep shooting in short bursts.
The walks often take place in the morning, before the heat of the day, when the light is still soft and the dragons are more active. Do not use flash, move slowly, and never step off the path for a better angle. Our guide to the Komodo dragons has more on the walks.
Keep your camera ready for the rest of the walk, too. The dragons share the islands with Timor deer, wild boar, water buffalo and birds such as the orange-footed scrubfowl, whose large nest mounds the rangers often point out. These quieter photos help tell the story of the island, not only of its most famous resident.

Pink Beach and the sandbars
Pink Beach takes its colour from tiny red organisms that live on the reef, mixed into the white sand. The pink is strongest where the sand is wet, at the edge of the water, and in soft morning light. Get close to the ground to show the colour, or shoot from the hill behind the beach, if your guide shows you the path, for the contrast of pink sand, turquoise water and dry hills.
Taka Makassar is a sandbar that appears at low tide, a thin white line in the middle of the sea. It looks its best from above, with the sun high and the water glowing around it. If you have no drone, a photo from the deck of the boat as you arrive, with a person walking on the sand for scale, tells the story just as well.
Padar is not the only viewpoint. Kelor, a small island near Labuan Bajo, has a short, steep climb with a view back over the islands, and on a longer trip, Gili Lawa in the north of the park has hills that glow at sunrise and sunset. Ask your guide which viewpoints are on your route, and when the light is best there.
Under the water: snorkelling photos
An action camera or a phone in a waterproof case is all you need for good snorkelling photos. Colours fade quickly with depth, red first, so the best pictures are taken in the first few metres, on shallow reefs, with the sun behind you. Hold still, get close to your subject and shoot slightly upwards to catch the light.
At Manta Point, manta rays often feed in the current, and the group drifts with the tender following behind. Keep a few metres from the mantas and turtles, never chase or touch them, and keep your fins off the coral when you take a picture. A floating wrist strap for your camera is a small thing that saves a lot of tears.
For a fun picture, try a split shot at a sandbar or a calm beach: hold the camera half in and half out of the water, with the reef below the line and the sky and hills above it. It works best on calm days with the sun high, and a wide lens or a dome port makes it much easier.
Kalong Island at dusk: the flying foxes
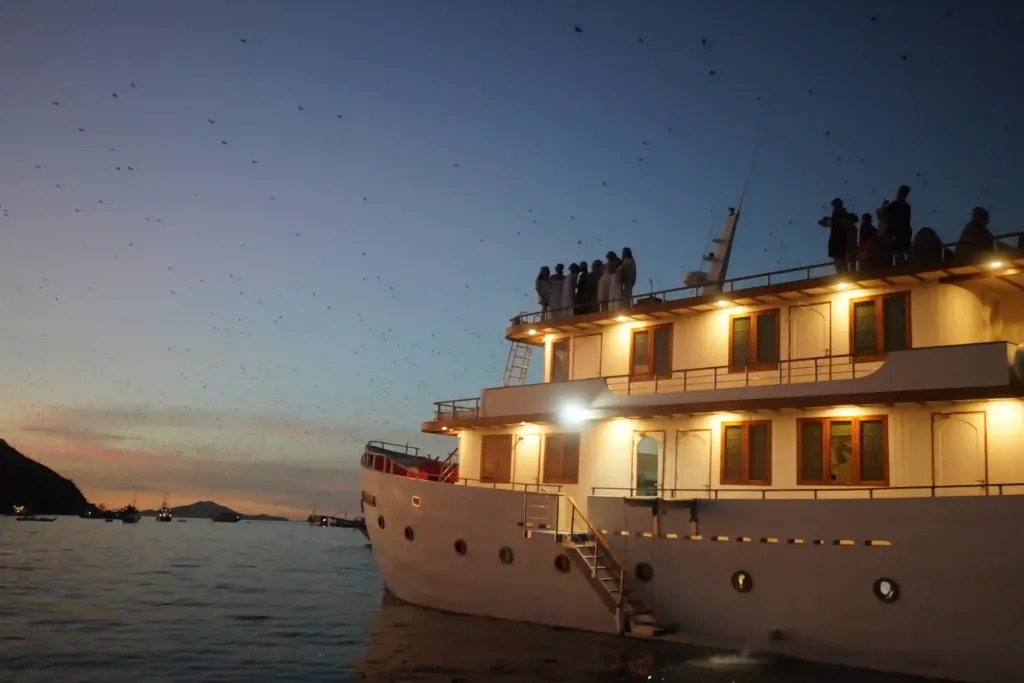
Many boats anchor near Kalong Island for the evening, when thousands of flying foxes leave the mangroves at sunset and fly across the sky towards Flores. The best photos show the bats as dark shapes against the orange sky, with the boat’s lights coming on below.
The light falls fast, so raise the ISO, open the aperture and use a fast shutter speed to freeze the wings. On a phone, tap to expose for the sky, not for the deck. Then put the camera down for a minute and watch: the best part of Kalong is the sound and the sheer number of them.
Life on board: the boat as your subject
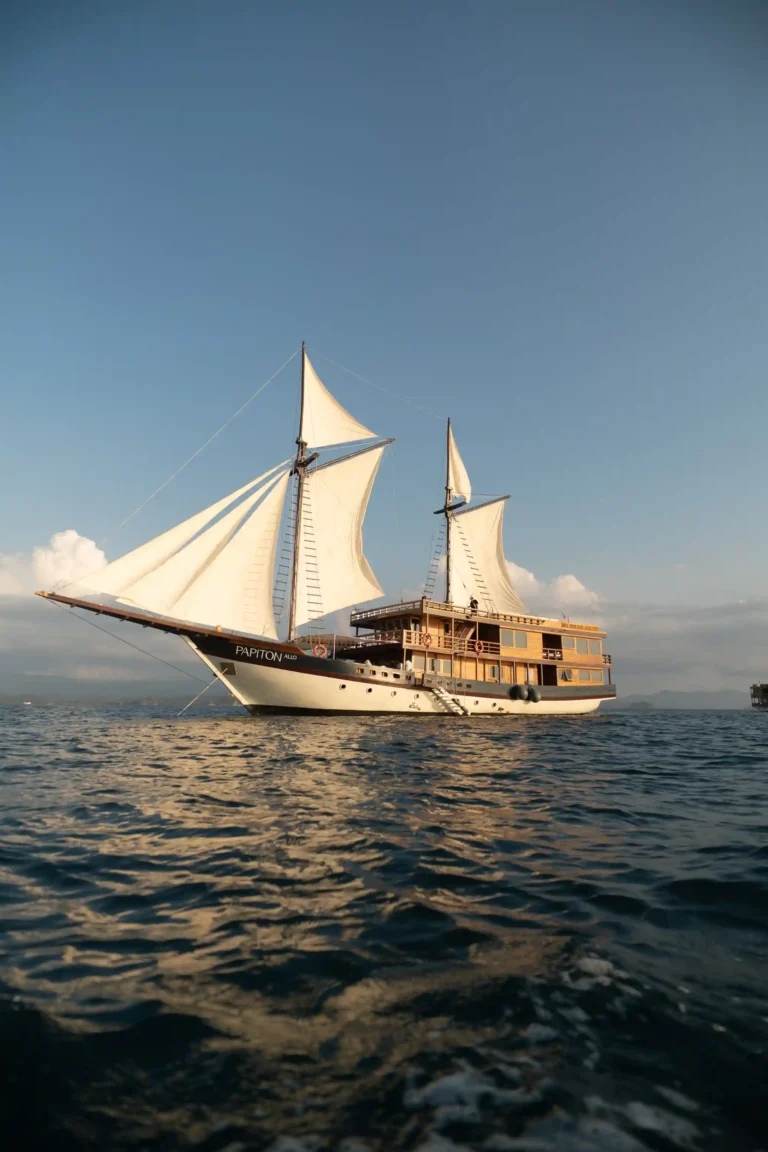
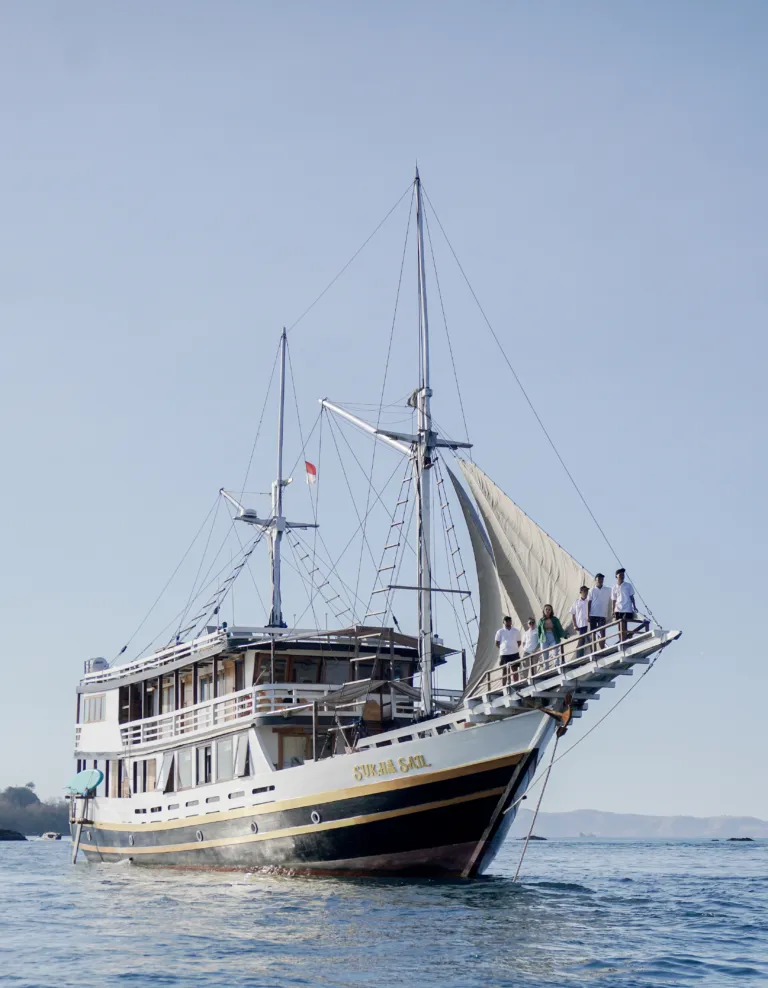
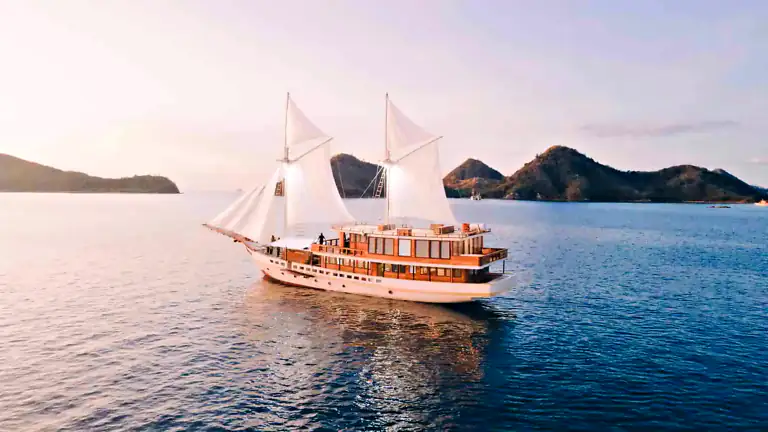
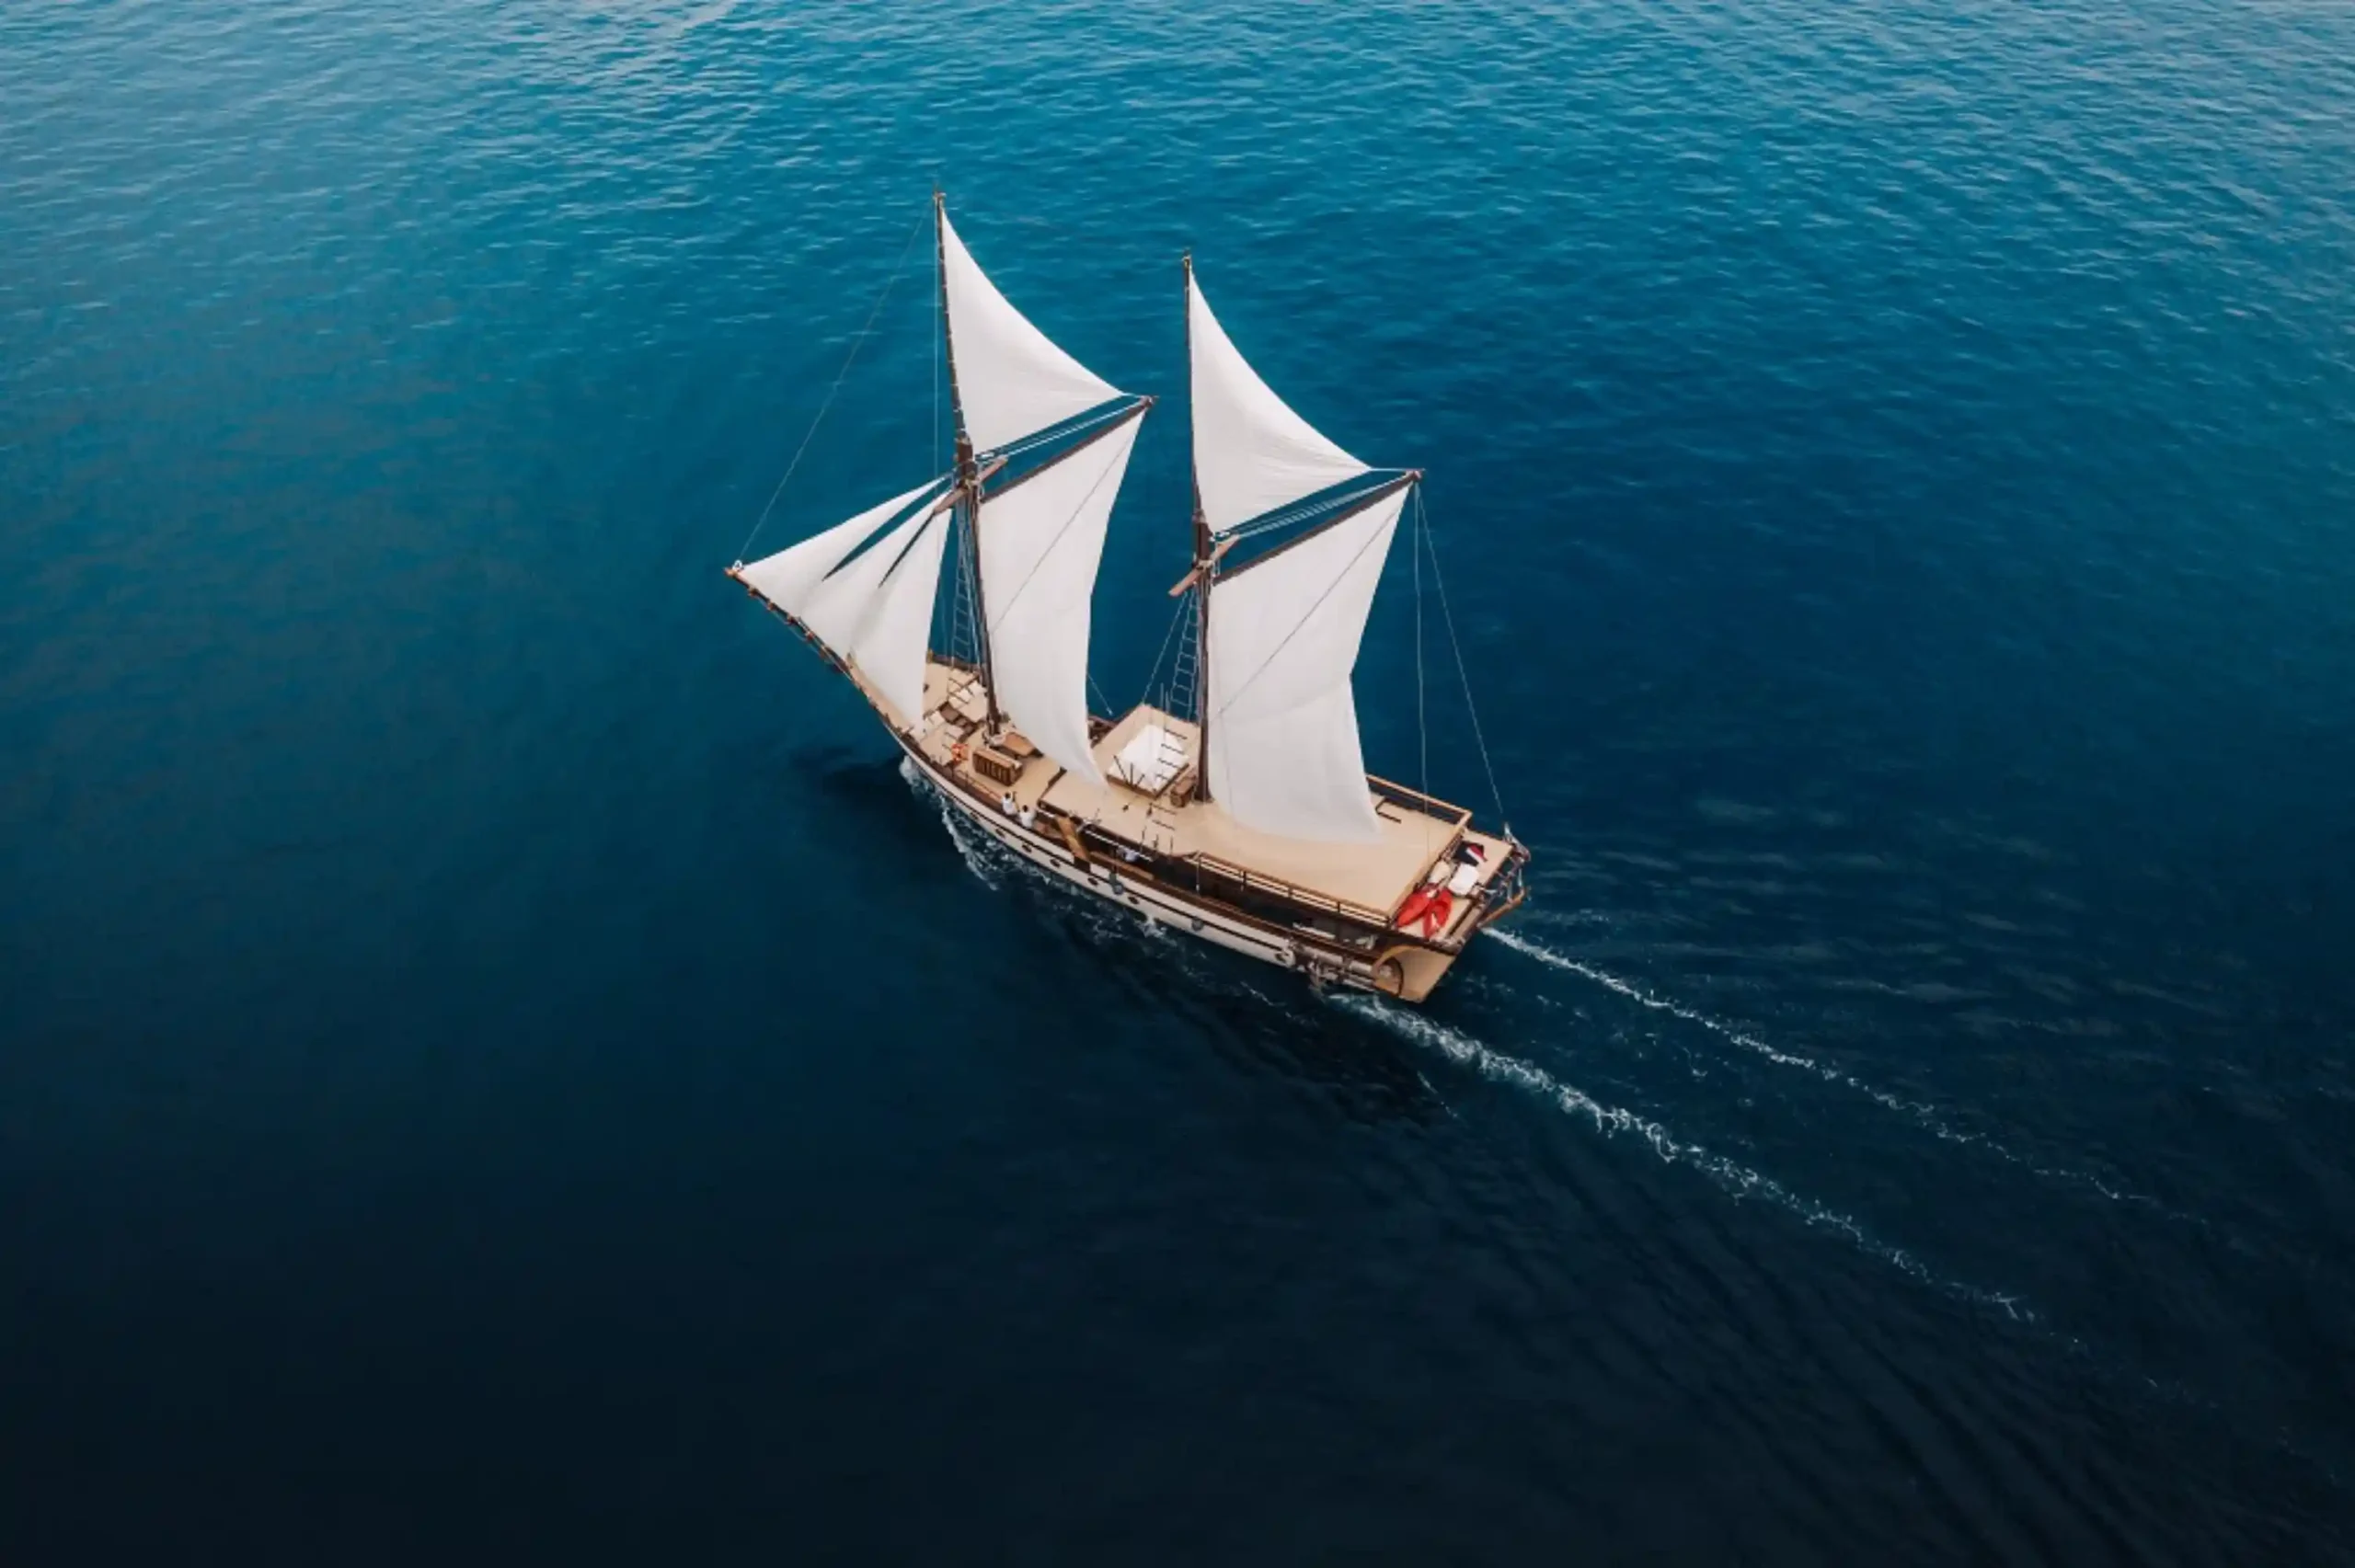
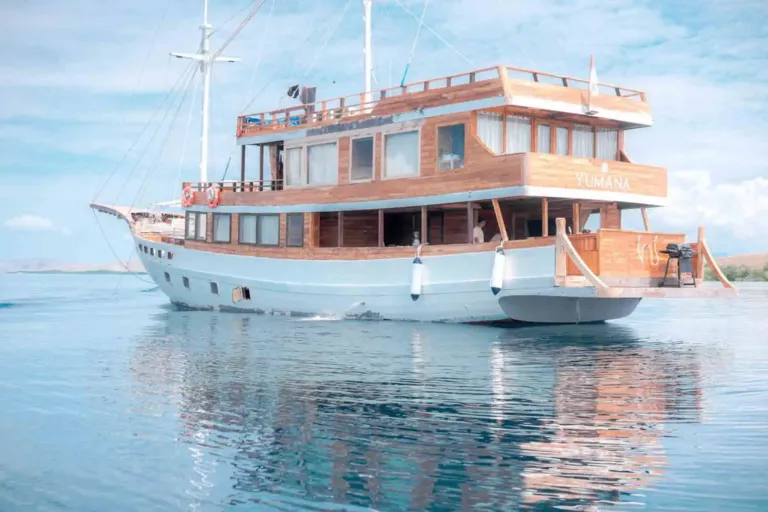
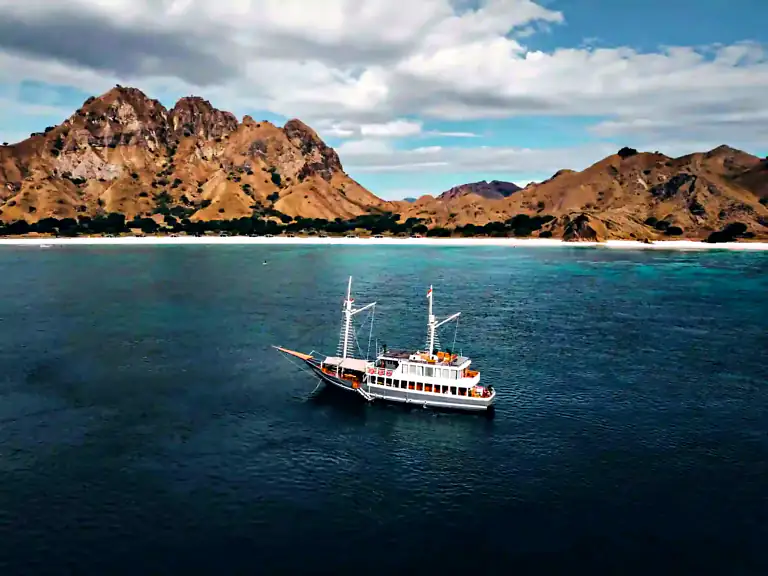
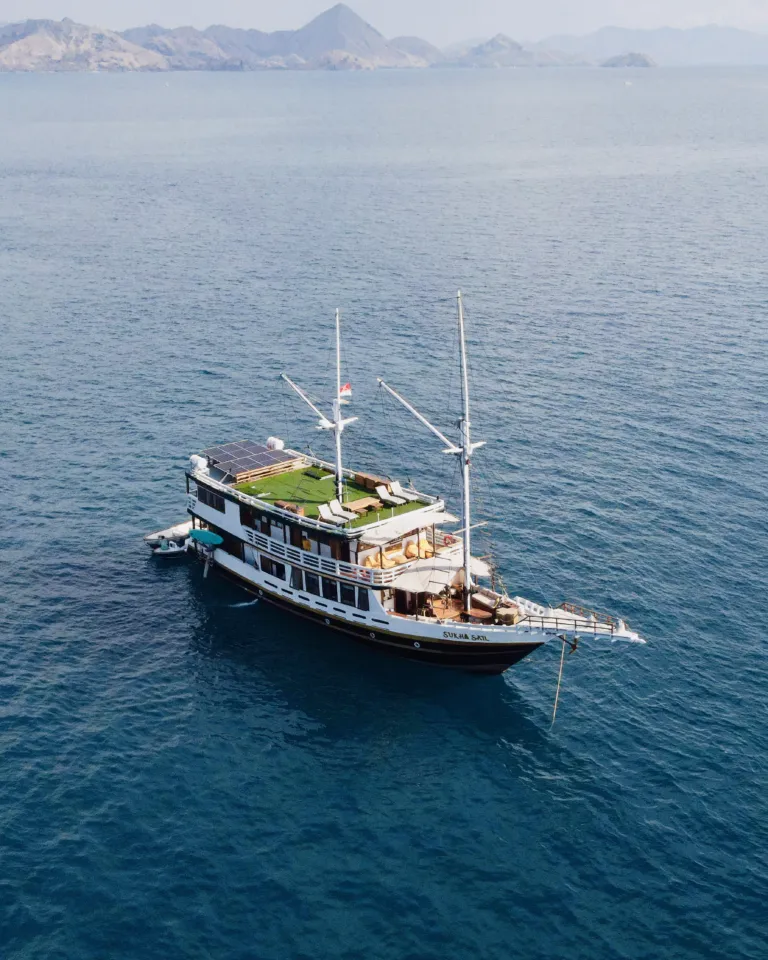
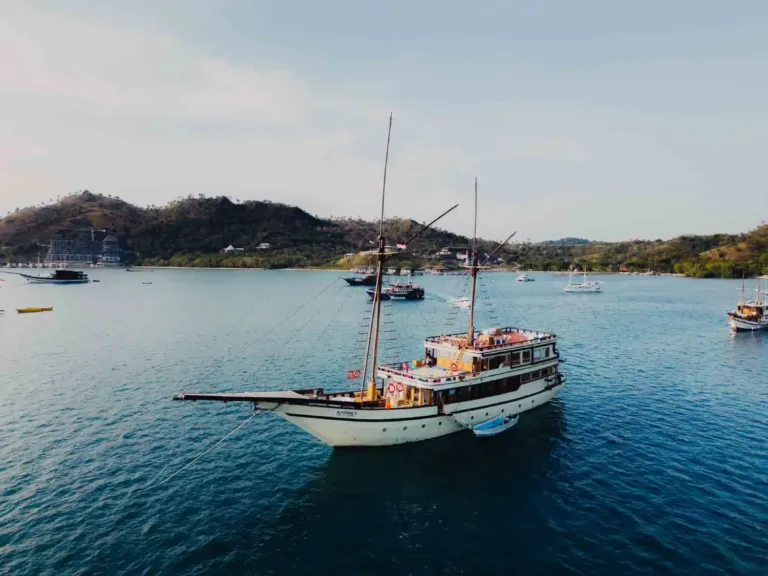
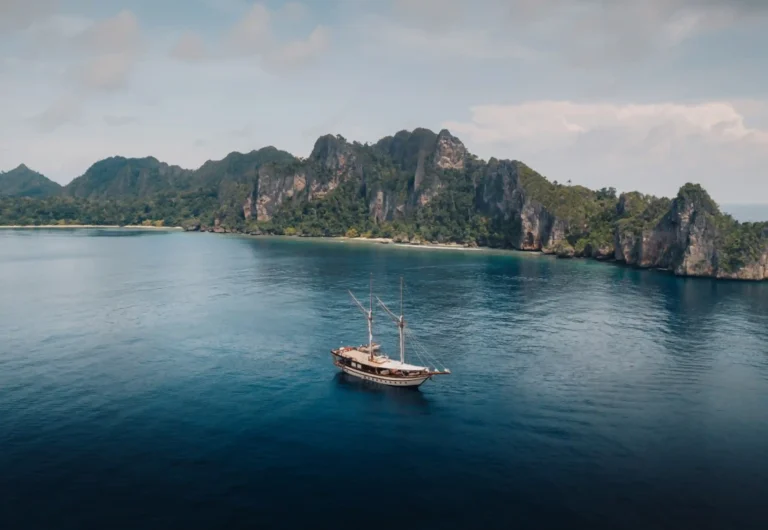
Some of the most personal pictures of a trip are taken on the boat itself: breakfast on deck, the crew raising the anchor, friends jumping into the water, a book on a daybed at sunset. All the boats on this site are phinisi, the traditional wooden sailing boats of Indonesia, and their masts, ropes and wooden decks make beautiful frames for the islands behind them.
The best photos of your own boat are taken from the tender on the way back from a stop, or from a hilltop when the boat is at anchor below. Ask the tender driver to slow down for a moment; most crews are proud of their boat and happy to help.
Ask before you photograph the crew, and ask before you photograph people in a village. Most are happy to be in a picture, and asking first is part of travelling with respect.
Night skies at anchor
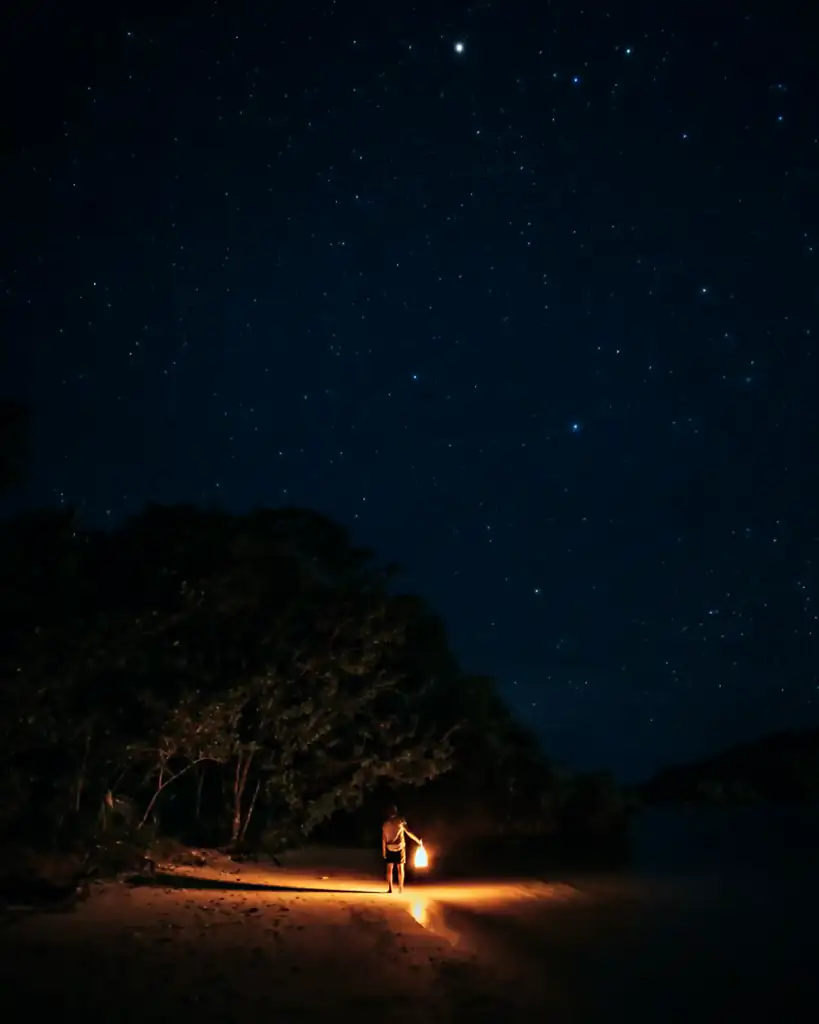
Far from the lights of town, the skies over the park are dark and full of stars. In the dry season, on nights without a bright moon, you can often see the Milky Way stretching over the anchorage. Check the moon phase before your trip if you want to photograph it.
Night photos from a boat are tricky, because the boat moves gently even at anchor, so a long exposure on a tripod blurs. Rest the camera on something soft, use a wide lens, open the aperture and keep the exposure as short as you can, raising the ISO instead. Some phones have a night mode that handles the movement well.
Drones in Komodo National Park
Drone photos of Komodo are spectacular, but flying one in the park is not a free-for-all. Komodo National Park charges a fee for drones under Indonesia’s national tariff rules from 2024, at IDR 2 million per drone per day, and the rules can change, so check before your trip. Your guide or the ranger can tell you where and when you may fly. Never fly over people, close to wildlife or near the dragon walks.
The simplest option is to leave it to the crew. On most sharing trips on this site, photo and drone documentation is included, so you get aerial shots of the boat, the bays and your group without packing a drone or paying the fee yourself. Ask about it when you book, so you know what to expect.
If you fly your own drone, think of the people around you. At sunrise on Padar, many visitors have climbed in the dark for a quiet moment, and the buzz of a drone overhead spoils it. Fly away from the crowd, keep your flights short and land as soon as you have the shot.
What to bring for Komodo photography
You do not need a large camera bag. A good setup for a liveaboard trip is light and simple:
- A wide lens for Padar, the bays and the boat.
- A zoom lens, around 70 to 200 millimetres or more, for the dragons and the flying foxes.
- An action camera or a waterproof phone case for snorkelling.
- A polarising filter for the water and the sky.
- Spare batteries, memory cards and a power bank, so you never miss a sunrise.
- A dry bag for the tender rides and the beach landings.
A modern phone takes excellent pictures in good light, and many guests use nothing else. Our Komodo packing list covers everything else you need on board.
Phone settings that help
Turn on the grid to keep the horizon straight, and leave HDR on for sunrise and sunset, when the sky is much brighter than the land. Use burst mode for the dragons and the flying foxes, panorama for Padar and portrait mode for people on deck. If your phone can save RAW photos, use it for the big moments, and wipe the lens before every shot, because salt and sunscreen smear it quickly.
Protect your gear from salt, sand and sun
Salt spray, fine sand and strong sun are hard on cameras. Keep your camera in a dry bag on the tender, where waves can splash over the side. Wipe salt off the lens with a soft cloth and a little fresh water, never with your T-shirt. Do not change lenses on a windy beach, and keep your gear in the shade on deck, because a camera left in the sun can overheat.
When you come from an air-conditioned cabin into the warm, humid air outside, the lens fogs up. Take your camera out a few minutes before sunrise, or keep it in its bag until it warms up, so the first light does not find you wiping a misty lens.
10 quick tips for better photos
- Be up early. The first hour of the day is the best light of the trip.
- Climb higher on Padar for a cleaner view with fewer people.
- Use a zoom for the dragons and stay behind the ranger.
- Add a person for scale on sandbars and viewpoints.
- Shoot the water at midday, when the reefs glow turquoise.
- Stay shallow underwater, where the colours are brightest.
- Expose for the sky at sunset and at Kalong.
- Keep the horizon level; on a moving boat, it is easy to tilt.
- Back up every evening to your phone or a second card.
- Put the camera down sometimes. Some moments are better remembered than photographed.
Our view
Komodo photography rewards the early riser and the patient watcher. A liveaboard is the best way to do it, because the boat puts you in the right place at the right time: on Padar before sunrise, at Pink Beach in the soft morning light, at Kalong at dusk and under a sky full of stars at night. Komodo National Park has been a UNESCO World Heritage Site since 1991, and every corner of it looks like a postcard.
The best camera in Komodo is the one you have ready at six in the morning.
Ready to plan your trip? Read what to see in Komodo, then compare the boats and their routes on our Komodo liveaboard page.
Questions
When is the best light for photos in Komodo?
The first hour after sunrise and the last hour before sunset. Midday light is best for turquoise water and reefs.
Can I fly a drone in Komodo National Park?
Yes, but a park fee applies per drone per day, and you must follow the rangers’ rules. On most sharing trips on this site, drone documentation is already included.
What lens do I need for the dragons?
A zoom of around 70 to 200 millimetres, or the zoom camera on your phone, so you can fill the frame from several metres away.
Is a phone good enough?
Yes, in good light. Bring a waterproof case for snorkelling and a power bank for the long days.
Where is the best sunrise in Komodo?
On Padar, from the viewpoints above the three bays. Most liveaboards anchor nearby so you can climb before first light.
Can I see the Milky Way?
Often, in the dry season on nights without a bright moon. The anchorages are far from town lights.
How do I keep my camera dry on the tender?
Carry it in a dry bag and take it out only once you are on land or back on the boat. Waves can splash over the side of the tender, even on calm days.
Can I take photos of the local people?
Yes, but ask first, with a smile or a gesture to your camera. Most people are happy to be in a picture when they are asked, and some prefer not to be, which is their right.
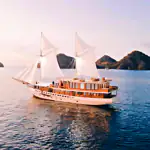 Elbark Cruise
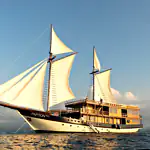 Papiton Allo
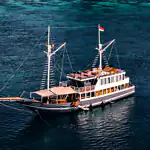 Semesta Voyages
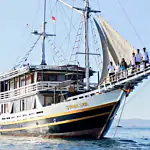 Sukha Sail 1